
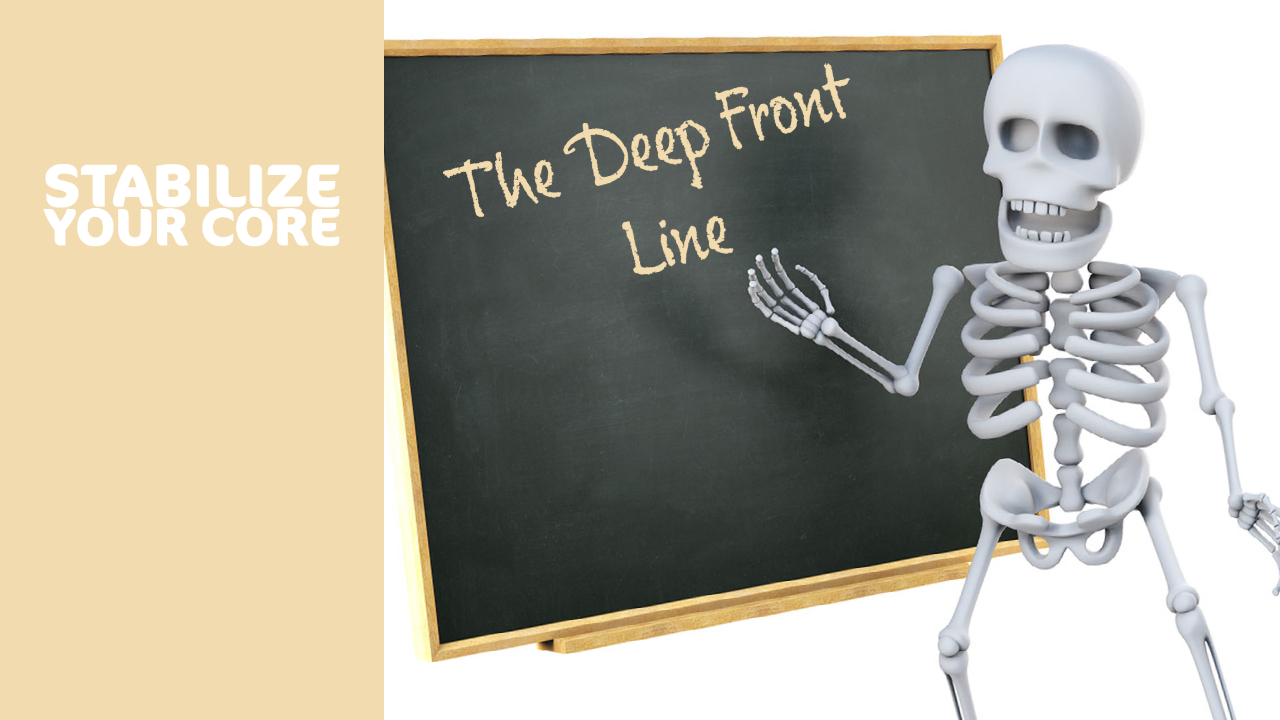

Understanding your human body and how it moves can help you safely practice Yoga. Understanding myofascial pathways, specifically the deep front line of anatomy, can help you create a safe and stable yoga practice. In this musing, I explore the deep front line, its significance in yoga practice, and how to access it in yoga poses.
What is a myofascial pathway?
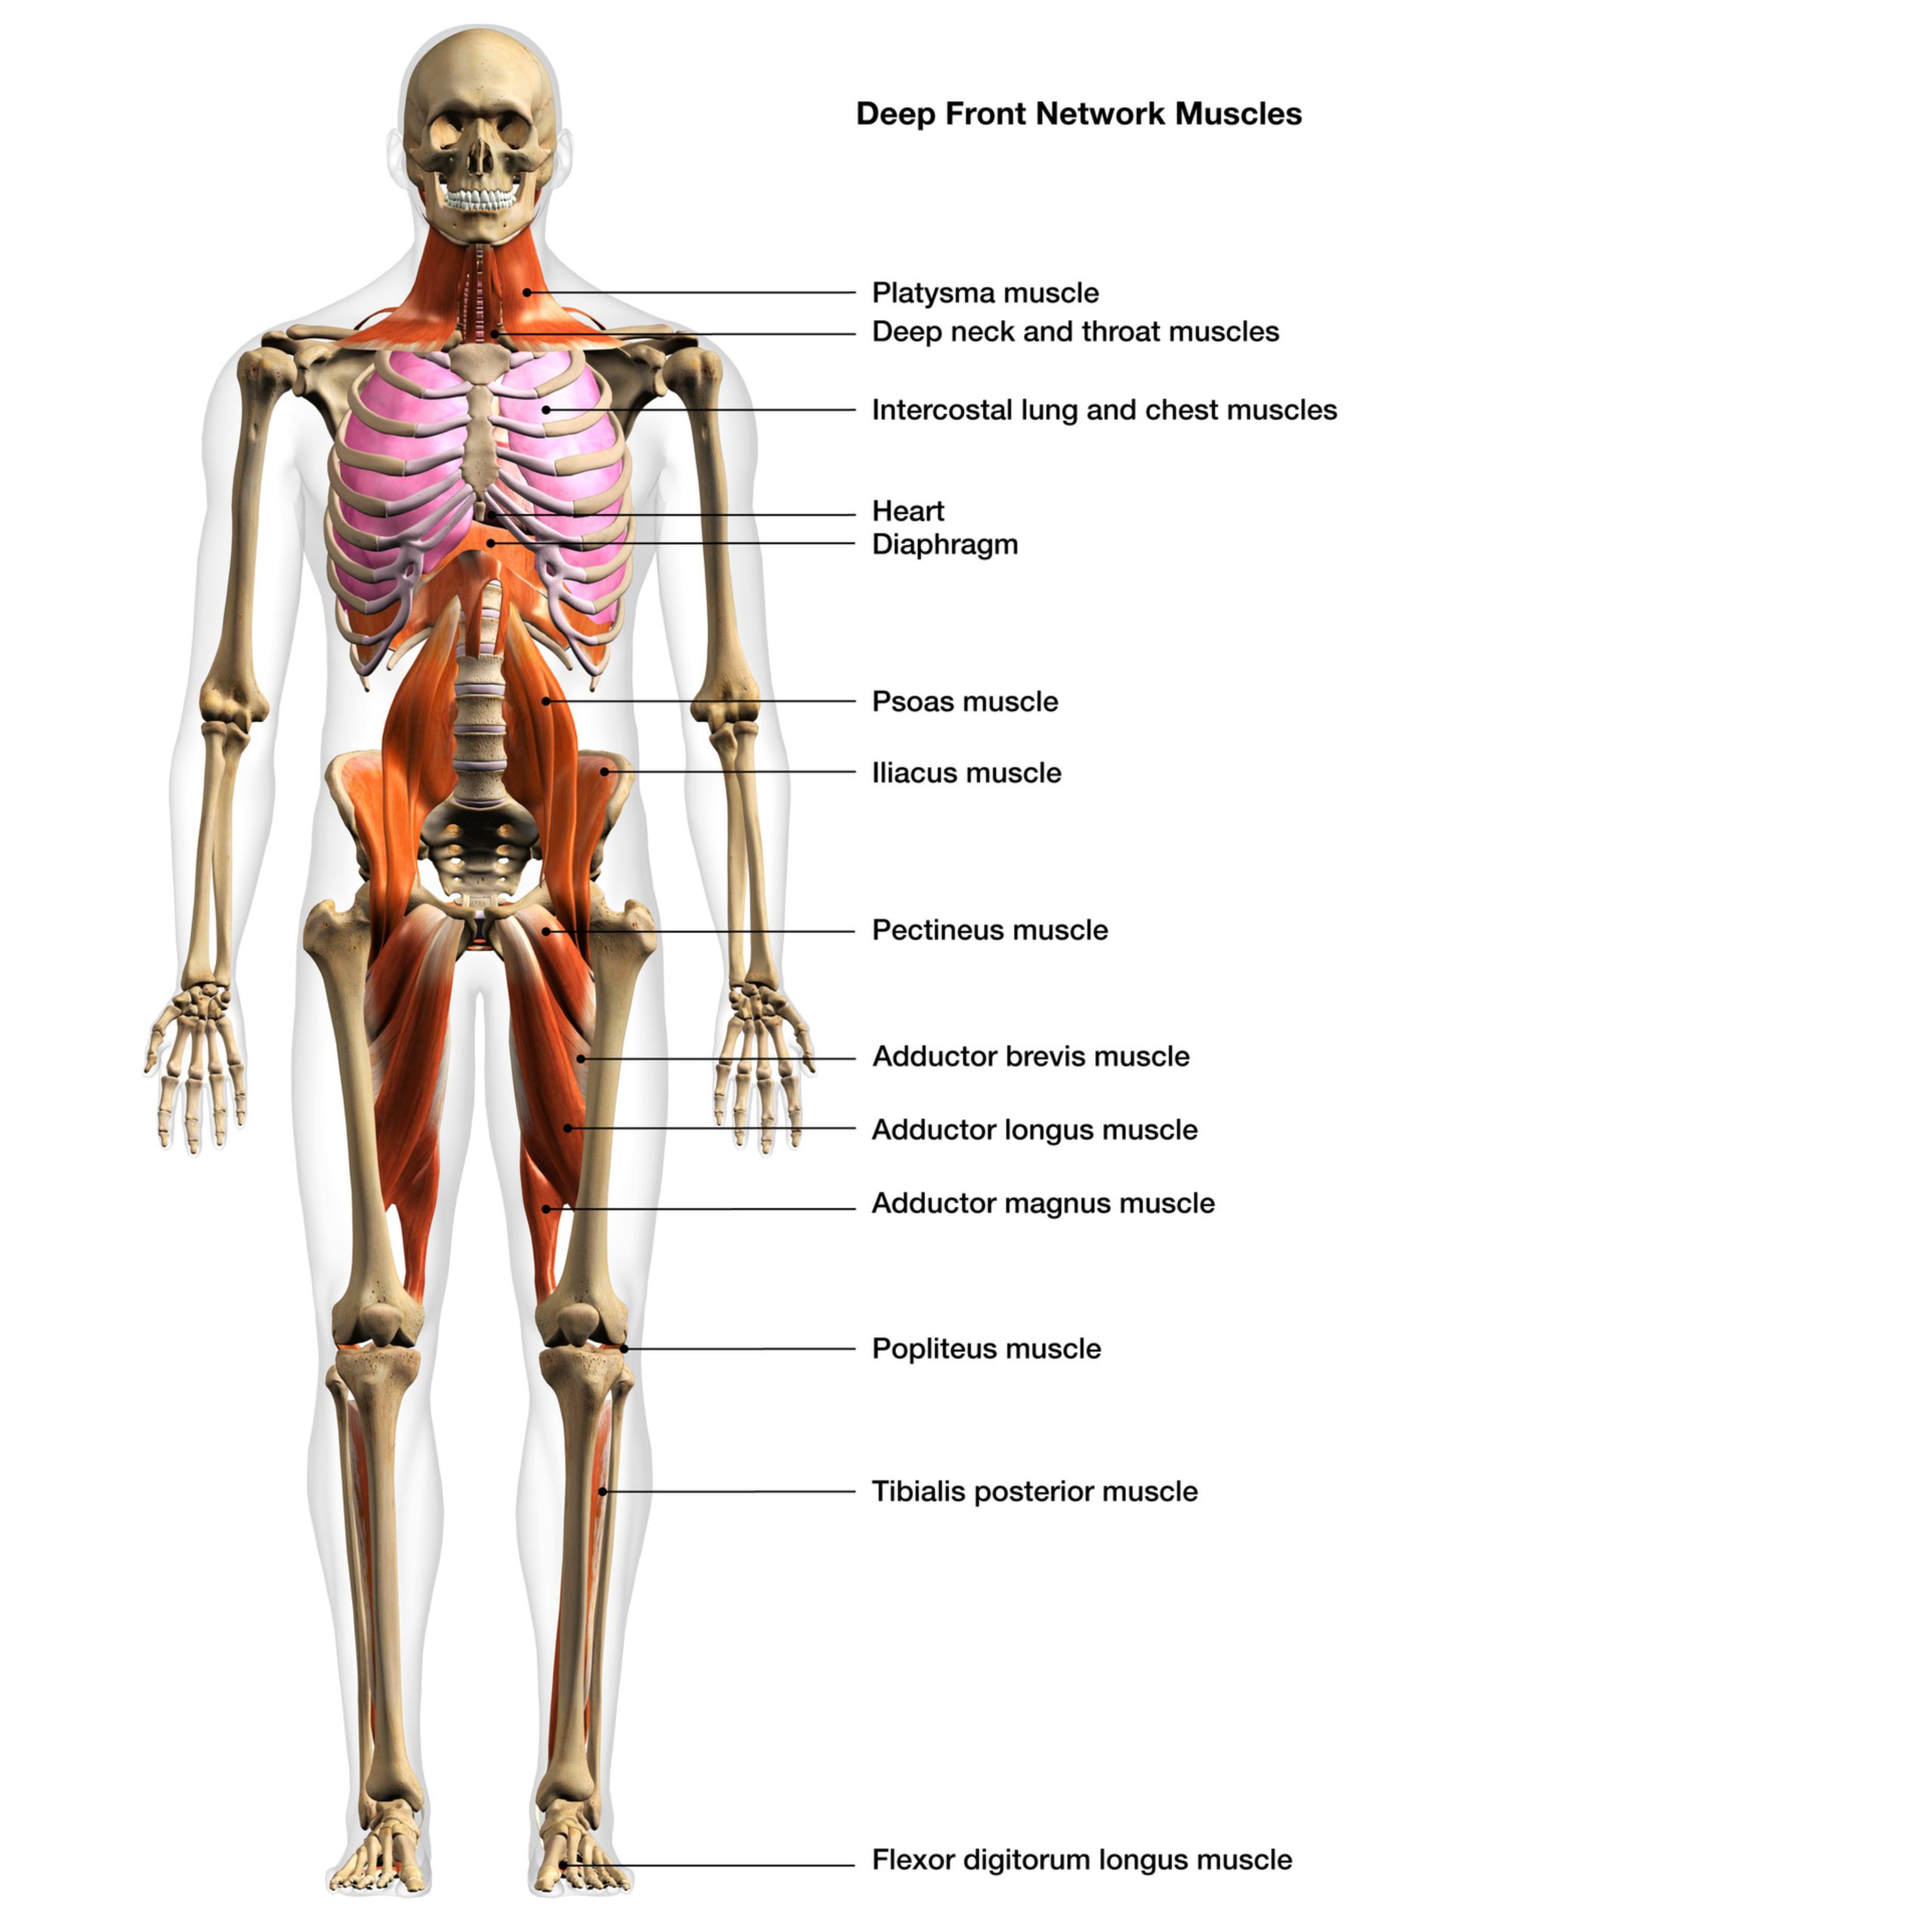
The body has several myofascial pathways, each with its own set of muscles and fascia. One example, the deep front line runs from your feet, through the inner thighs, along the spine, to the crown of your head. This pathway includes the feet, adductors, pelvic floor, psoas muscle, diaphragm, and other core muscles.
Another example is the spiral line, which runs from the feet up through the legs, hips, and torso in a spiral pattern. This pathway includes the peroneal muscles of your outer leg, outer hip muscles, internal and external obliques, and other core muscles.
Understanding and working with myofascial pathways can help you move more efficiently and reduce the risk of injury. In addition, by focusing on these pathways and the relationships between different muscles and fascia, you can develop greater strength, flexibility, and stability in your body.
The significance of the DFL in Yoga Practice
How to Access the DFL in Yoga Poses
First, bending the knees makes it easier to engage the muscles of the feet, which are the starting point of the DFL. You activate the plantar fascia muscles by pressing down into your feet. Engagement of the feet creates a stable foundation for a pose.
Secondly, bending your knees releases tension in the psoas muscle, a significant part of the DFL. Bending your knees creates more space in the hip flexors connected to the psoas muscle. This space helps release tension and tightness in the psoas, allowing for greater mobility in the spine and hips.
Finally, bending your knees helps you engage the adductors, another link in the DFL. When you bend your knees and bring your legs closer together, you activate the adductor muscles, which run along the inside of the thigh. These muscles help stabilize the pelvis and support the spine, allowing for greater mobility and ease in standing poses.
By sending your hips back, I mean not jutting your hips forward, finding a neutral pelvic tilt. This neutral hip and pelvis position happens more easily if the knees are bent or softened.
First, when you send your hips back, you create more length in the back of your legs, the hamstrings, calves, and the Achilles tendon. Lengthening these muscles and tendons releases tension and improves spine and hip mobility.
Secondly, sending your hips back can help you engage the gluteus maximus, another part of the DFL. This muscle helps stabilize the pelvis and support the spine, and engaging it can help create more stability and balance in standing poses.
Finally, sending your hips back helps you engage the psoas muscle, a significant part of the DFL. When you send your hips back, you create more space in the hip flexors connected to the psoas muscle, allowing for greater mobility and ease in the spine and hips.
The adductors are a significant part of the DFL. They run along the inner thigh and connect to the pelvic floor and the psoas muscle. Engaging the adductors can help stabilize the pelvis and support the spine, creating a more stable foundation for the rest of the pose.
Secondly, engaging the adductors can help create more space in the hips, allowing more access to the DFL. When the adductors are engaged, they draw the legs closer together, creating more space in the hip joints and allowing for greater mobility in standing poses.
Thirdly, engaging the adductors helps activate the muscles of the feet and create a stable foundation for the rest of the pose. When the legs draw together, the muscles of the feet are engaged more effectively, creating a stable base for the rest of the body.
Finally, engaging the adductors can help release tension in the hip flexors connected to the psoas muscle.
Accessing the DFL in common Yoga poses
Downward Facing Dog
Start on hands and knees, your wrists are under your shoulders, and your knees are beneath your hips. Spread your fingers wide and press your palms into the ground. Exhale and lift your knees, starting to press your heels toward the ground as you lengthen your spine. Notice the stretch in the back of your legs up to your glutes. If you feel your spine rounding, bend the knees as much as you need to to keep the spine long and straight. As you hold the pose, imagine a line of energy running from your feet to the crown of your head, engaging the muscles of the DFL.
Start in a knee-down lunge with your right foot forward and your left knee on the ground. Lift your spine and torso straight up as you lift your left leg from the mat. Allow the left knee to be soft or bent. Your arms may reach toward the sky or stay at your hips. Press into your right foot. Notice if you are jutting your hips forward. If they are, imagine sliding your left hip back. Engage your back leg and feel the stretch in your hip. Imagine a line of energy from your back foot, through your psoas muscle, to the top of your head.
Start with your feet wide apart on the mat, your arms extended to the sides. Turn your right foot out and your left foot in slightly. Bend your right knee, reach your right hand toward your right shin, ankle, or the floor, and reach your left hand toward the sky. Engage your legs and feel the stretch in your hamstrings and adductors. Your hand may need to rest on your thigh and keep your knee bent to maintain a straight spine. Work to keep your spine long. If you start to straighten your right leg, notice what happens to your spine. As you hold the pose, imagine a line of energy running from your right foot, through your inner thigh, and up to the crown of your head.

Your blog is a breath of fresh air in the often mundane world of online content. Your unique perspective and engaging writing style never fail to leave a lasting impression. Thank you for sharing your insights with us.